Generating a Tile Image
Generating a Tile Image
Quick rundown on how to generate your own tile images.
Step 1.
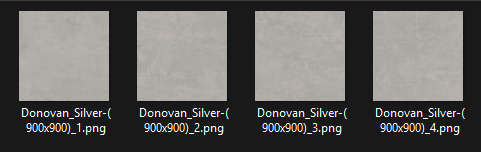
Get your tile textures ready. You need either 1 single image, or 4 different versions.
It is better to have 4 versions if possible to allow the veining/pattern to not be too repetitive.
Each file MUST be named differently as to not overwrite themselves on upload.
EG:
Step 2.
Enter the name of the tile.
This could be just a single name, or 2 depending on if the range has any varieties.
For example, with Donovan from Easy Bathrooms (link here) there are 3 varieties: White, Silver and Tan. So for the example here, I'll be using "Donovan Silver"
Step 3.
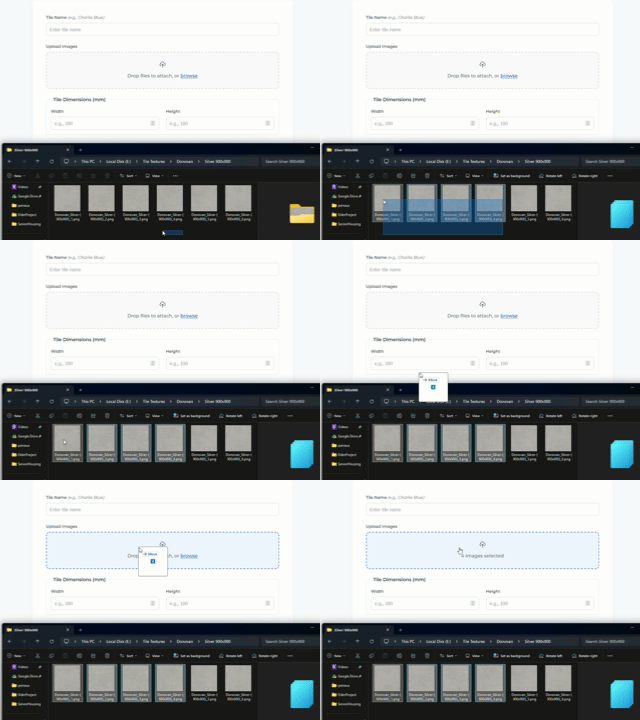
Upload to the image generator.
You can either click to select multiple files, or drag and drop the files.
Step 4.
Now to set up your tile settings.
Sizes:
- Width (in mm)
- Height (in mm)
Step 5.
Next is your preference: Layout Pattern, Grout Colour and Grout Width.
Layout Pattern:
-
Horizontal or Vertical:
- Block
- Half Block
- Third Block
- Quarter Block
-
Special:
- Basket Weave*
- Herringbone*
- Hexagon
* These must be in full ratio of width to height. From 2:1, up to 6:1 (this may increase with further development)
Grout Colour:
We currently support grout colours from BAL Micromax3 and UltraTile ProGrout.**
Grout Width:
Anything from 1mm+ will show the grout joints between the tiles.
With a 0mm joint, it will have no joint visible.
Step 6.
Now to generate your pattern!
Click on 'Generate Tile Pattern' and the files will be processed along with your settings chosen, and initiate a download with the name of the file being the following:
TileName (Width x Height) (Grout colour) (Layout pattern).pngSo with the above examples:
Donovan Silver (900x900) (Gunmetal Grout) (Horizontal Block).png